Category Archives: Past Events
Thinking Out Of The Idiot Box – Bengaluru
Thinking Out Of The Idiot Box – Mumbai
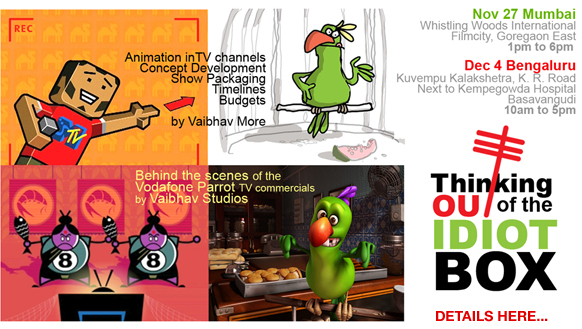
Date: 27th Nov 2010
Time: 1 pm to 6 pm
Venue: Whistling Woods International, Film City, Goregaon (East), Mumbai
Day Pass:
Students – Rs.100/-
Professionals – Rs.200/-
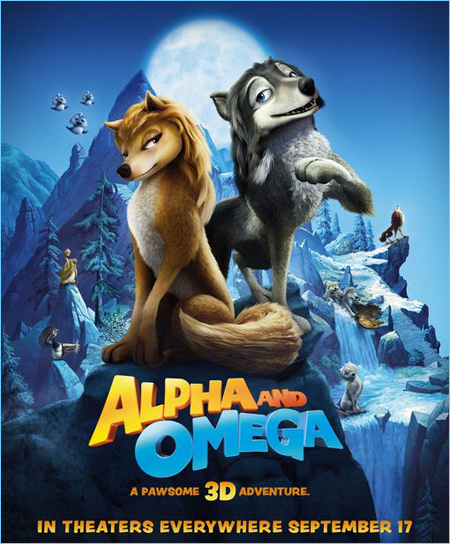
The Making of Alpha & Omega : Session Photos
The detailed Making of Alpha and Omega presented by Mehul and his team on Saturday, 9th October, 2010, in Mumbai.
- Introduction
- Layouts & Set Development
- Character Development and Animation (including Modeling-Rigging-Animation)
- Look Development (Texturing and Fur)
- FX-Lighting-Compositing
- Rendering
PHOTOS:
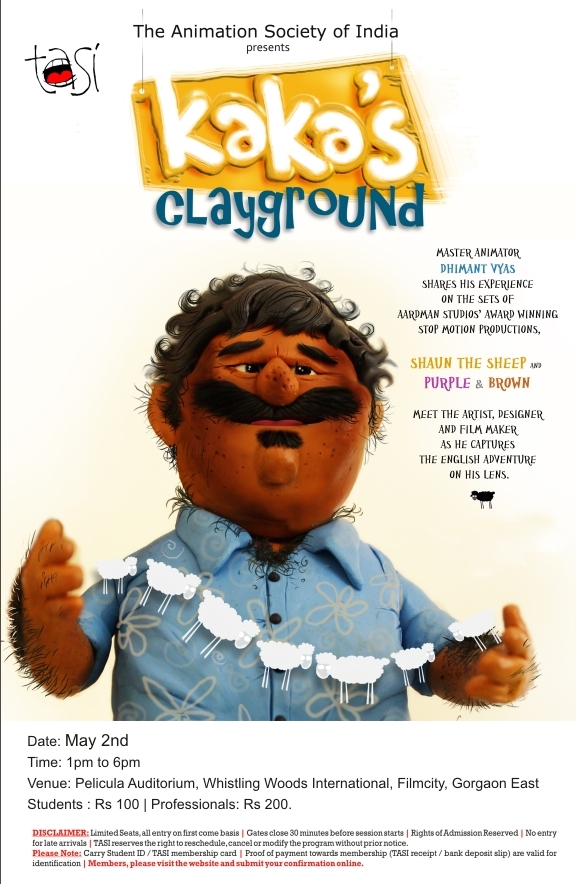
Kaka’s Clayground: Session Report
Dhimant Vyas aka Kaka is a much-loved veteran of animation and his sessions always guarantee a full house. So on Sunday, the 2nd of May, when the Pelicula Auditorium at Whistling Woods International was temporarily transformed into Kaka’s Clayground for an afternoon of fun, films and learning, the 300 strong audience got much more than they bargained for. In a span of 5 hours, Dhimant took everyone on a tour of Aardman Studios, Bristol, Bath and Stone Henge, with Shaun the Sheep, Purple, Brown, Wallace and Gromit for company. The audience not only got a peek behind the scenes of many Aardman films but also into the rich culture of Bristol, with its assorted festivals – of kites, balloons, boats and much more! And of course, they learned about ‘clay animation’, ‘stop motion’ and ‘go motion’.
Vaibhav began the session by introducing Dhimant to the audience for the benefit of those who don’t know him (Although I doubt that there was any such person in the crowd). He promised the audience a ‘hot’ session, hinting at the popularity of the event and simultaneously lamenting the fact that the venue had a scheduled power cut. Luckily for the audience, eventually it was only the the session that was hot.
Having previously worked with the Aardman Studio team on ‘Creature Comforts’, Dhimant had been specially invited to work on the new episodes of Shaun the Sheep (currently being aired on Nickelodeon in India), which is how he found himself spending close to a year in Bristol, UK, at the Aardman Studio, working right from pre-production stage to animation.
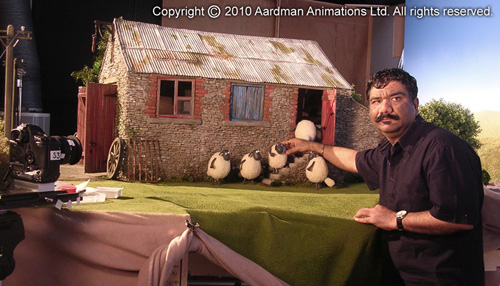
Dhimant began by screening a few short clips, requesting the audience to refrain from taking any photos or videos as it was all copyrighted material. The agenda was to share his experience of working on two clay-animation TV series at Aardman Studios – ‘Shaun the Sheep’ and ‘Purple and Brown’.
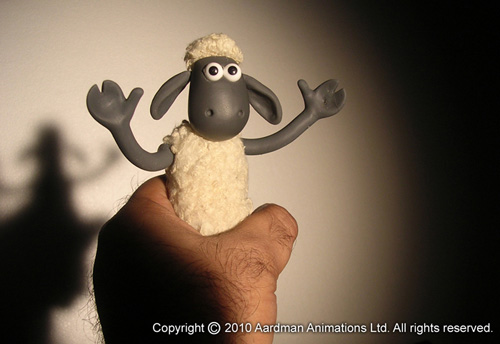
After screening an episode of Shaun the Sheep, rather than just talk about how the films were made, Kaka chose to elucidate through photographs. This part was highly interactive with Kaka explaining in great detail the process of animating for Shaun the Sheep, the audience throwing a constant barrage of questions his way and Dhimant answering each one patiently.
He explained a new technique that he learned and used for the first time – Go Motion. It is similar to Stop-motion, where the objects are moved and captured frame by frame, but in the case of Go-motion, while the frame is being exposed, the background or certain elements on the set are moved, thus creating an illusion of rapid movement. E.g. The road and the bushes in certain scenes were animated using the Go-motion technique while the characters in the foreground were simultaneously being animated in Stop-motion. While the go-motion was being done on ‘ones’, the stop-motion was being done on ‘twos’.
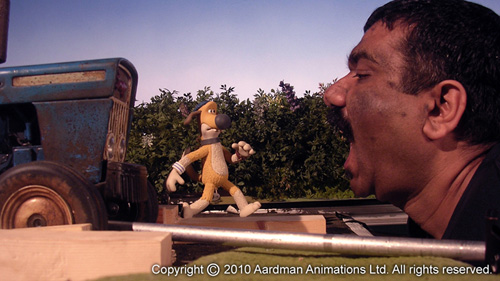
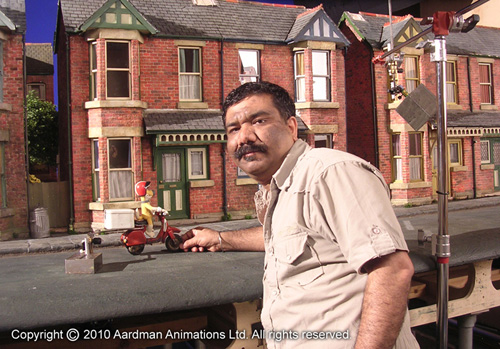
The set for Shaun the Sheep was divided into 16 parts, besides which some sets were created and dismantled as and when required. Dhimant remembered one particular set where the glass window in one of the model-buildings was reflecting his face in many frames. They had to modify the problem part and Dhimant had to crouch each time they exposed a frame. The sets were large and sturdy, with metal reinforcement underneath facilitating the animators to actually walk over the models, some of which were expansive.
Shaun the Sheep has 3 directors, and multiple animators, each one assigned with assistants to help him or her. There are production coordinators, art directors, model-makers, set-designers, riggers, cinematographers, runners and a whole big team handling various responsibilities.
Dhimant showed visuals to explain the construction of the various character models, the mechanical rigs to show flying/jumping movements, props which were only partially constructed (on the camer-facing side only) to enable the animator to move parts freely from the other side. Few scenes were shot against blue or green screens or on glass surfaces. Most character models were created partly with clay and partly with stiffer silicone. The miniature props (everything from furniture to vegetables to houses and trees) were constructed from clay, wax, fiber glass, wood etc. The mouths of most characters were created using replacement parts to facilitate lip-syncing to dialogue. For this particular shoot, more silicone rubber was used than plasticine because it is more durable. The props are all made in-house at Aardman’s moulding facility and not outsourced because of copyright issues. The backdrops were either stretched canvas or cut-outs and matt paintings.
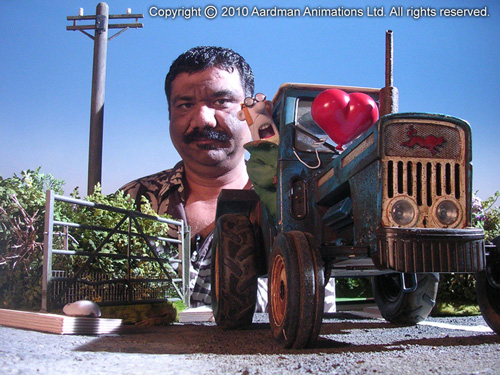
While watching the final film, we tend to forget the effort that goes into making stop-motion films. The maximum animation that can be achieved in a single day is 6-8 seconds but because of the complex nature of the shots, on many days only 2-3 seconds could be completed. All the hard work resulted in back problems for Dhimant and in some photos, one could see him animating while wearing a back support belt around his waist. Reshooting was a luxury they couldn’t afford because there was no time for it, so the animators had to constantly keep checking each shot.
Sometimes there are unexpected problems – like when the prop-makers created the wheels for the car without taking into consideration the fact that the wheels had to move in the scene and the result was that the motion wasn’t smooth and the wheels had to be remade.
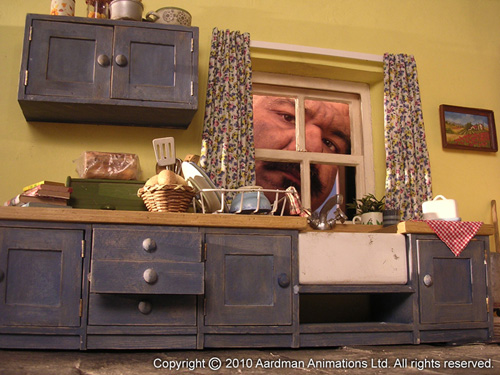
The session was peppered with constant questions from the audience.
Q. – “How do you control the light so as to avoid flicker?”
A. – “The lighting in the room you shoot in must be completely under your control. Block all natural light by covering the windows with black paper/cloth. Use a stabiliser/UPS to prevent lights from flickering. Ideally shoot at night when there are lesser chances of people switching lights on and off repeatedly.”
Q. – “Does Aardman Studios use proprietary software to capture the frames?”
A. – “The software – Stopmotion Pro is used at Aardman, as it has a lot of useful features including onion-skinning, rig-remover, live-action syncing etc. They do interact closely with the folks who create the software.”
Next came “Purple and Brown”, and the film clips that Dhimant screened left the audience wondering how the animators had achieved such impressive squash and stretch in a medium like clay-animation. Dhimant revealed some of the tricks using photographs of the models and the animation process. Although replacement models were used most of the time, the animators still had to keep moulding and reshaping the models. There was no armature inside the models – they were completely made of plasticine. In one scene the characters wore little glass helmets and again they were faced with the problem of reflections. The glass and the plasticine kept collecting dust and finger prints so they had to constantly keep cleaning the surfaces. The mouth and lips of the characters were made on the fly so lots of spare parts were required. The model-makers are always at hand to fix any broken or deformed models.
Kaka then showed complete storyboards that were created for 2 episodes of Shaun the Sheep. The painstaking detail in each of them was astounding and bears testimony to the amount of effort goes into the making of each episode. Time flew as the audience got to see several episodes of Shaun the Sheep.
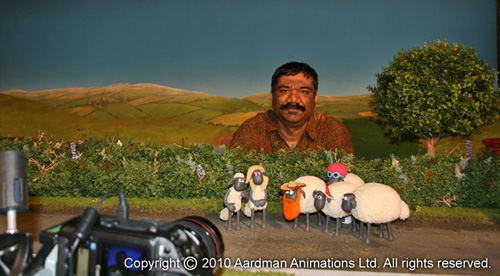
The audience was begging for more and Dhimant happily obliged by screening the Oscar-nominated “A Matter of Loaf and Death”. He also showed a few segments from the American edition of “Creature Comforts” – which he too had worked on during his first stint at Aardman Studio.
Dhimant showed photos of the armatures of the characters from “Creature Comforts” to give everyone an idea of the construction and the materials used. He also shared the slug-sheets used to mark the breakdown of dialogue and lip movements.
Some more Q&A followed.
Q – “How do you show liquids?”
A – “A variety of materials is used to show liquids – for instance the coffee in “A Matter of Loaf and Death” was made using clay mixed with jelly. Other materials include – KY Jelly, Petroleum Jelly (vaseline), White transparent plastic and Glue-gun drops.”
Q – ” How does one learn timing for animation?”
A – ” Observation. And practice. Lots of it. Watch any good actor or actress from a live-action film by pausing and viewing them frame-by-frame. You will notice subtle movements and actions that you would otherwise miss. Make a mental note and use it when you animate.”
Responding to another audience question about the importance of the story in Aardman’s productions – Dhimant shared that at Aardman Studios, everyone is invited to contribute stories. Everyone from Nick Park to the peon can submit a story. A team then brainstorms on the selected story and further tweaks are made during the story-boarding process. The final word, though, belongs to the client – the company that has commissioned the film/series.
On Vaibhav’s request, Dhimant then showed a hand-drawn animation film “Raag Malhar”, which he had made few years ago – it was a brilliant example of timing in animation. He also stressed that as an animator, you never stop learning – he was learning something every day on the sets at Aardman.
